Tutorial: Setting up Hugo on GitLab and applying a new theme
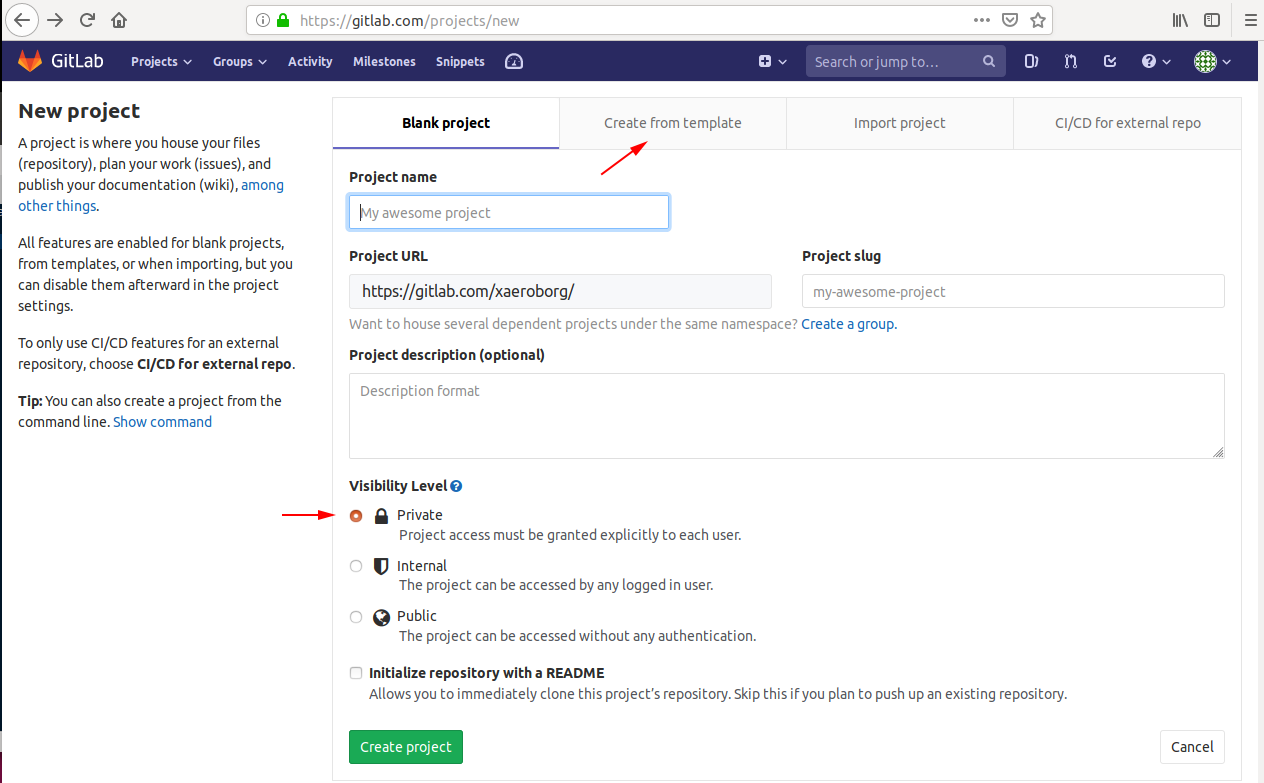
Register an account with Gitlab and after confirming your email address you will be required to login. Once logged in you will see this page, keep the visibility “private” or “internal” and then click on create from template.
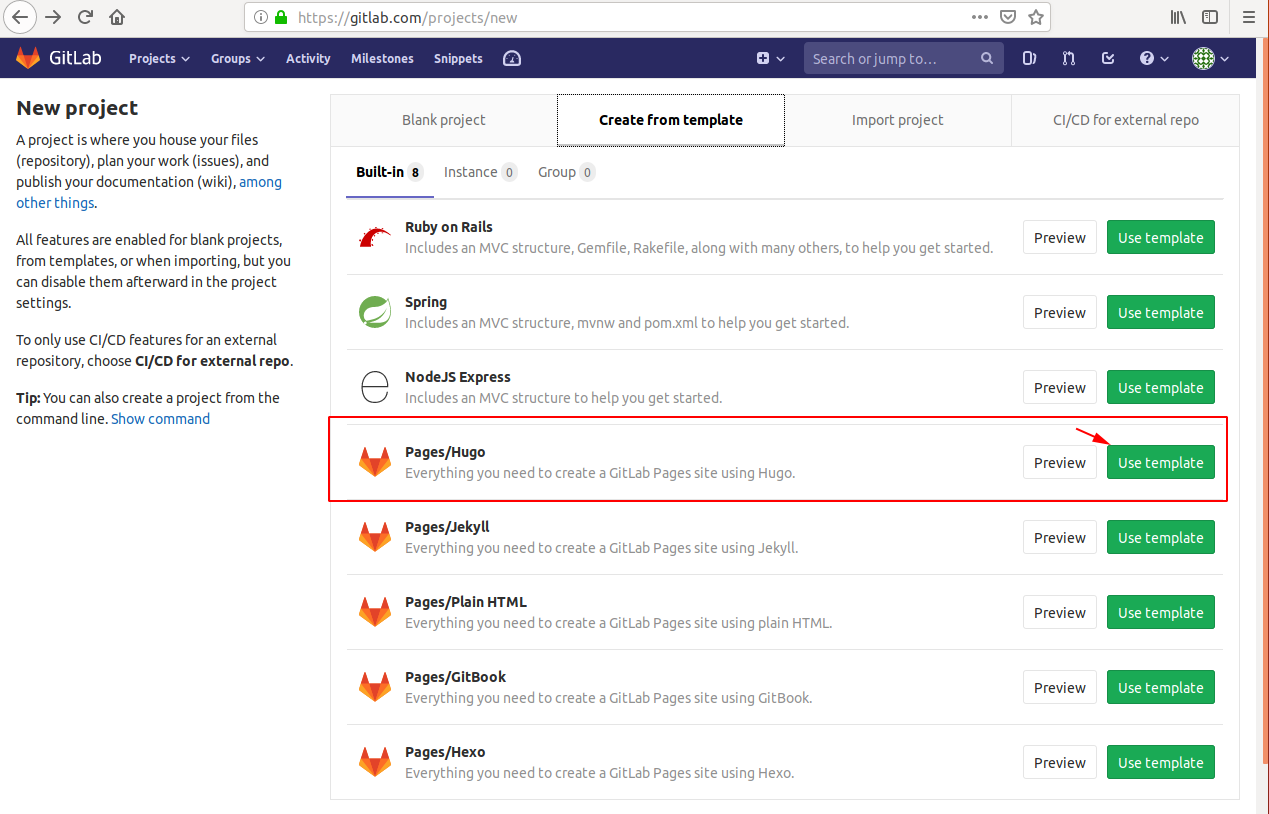
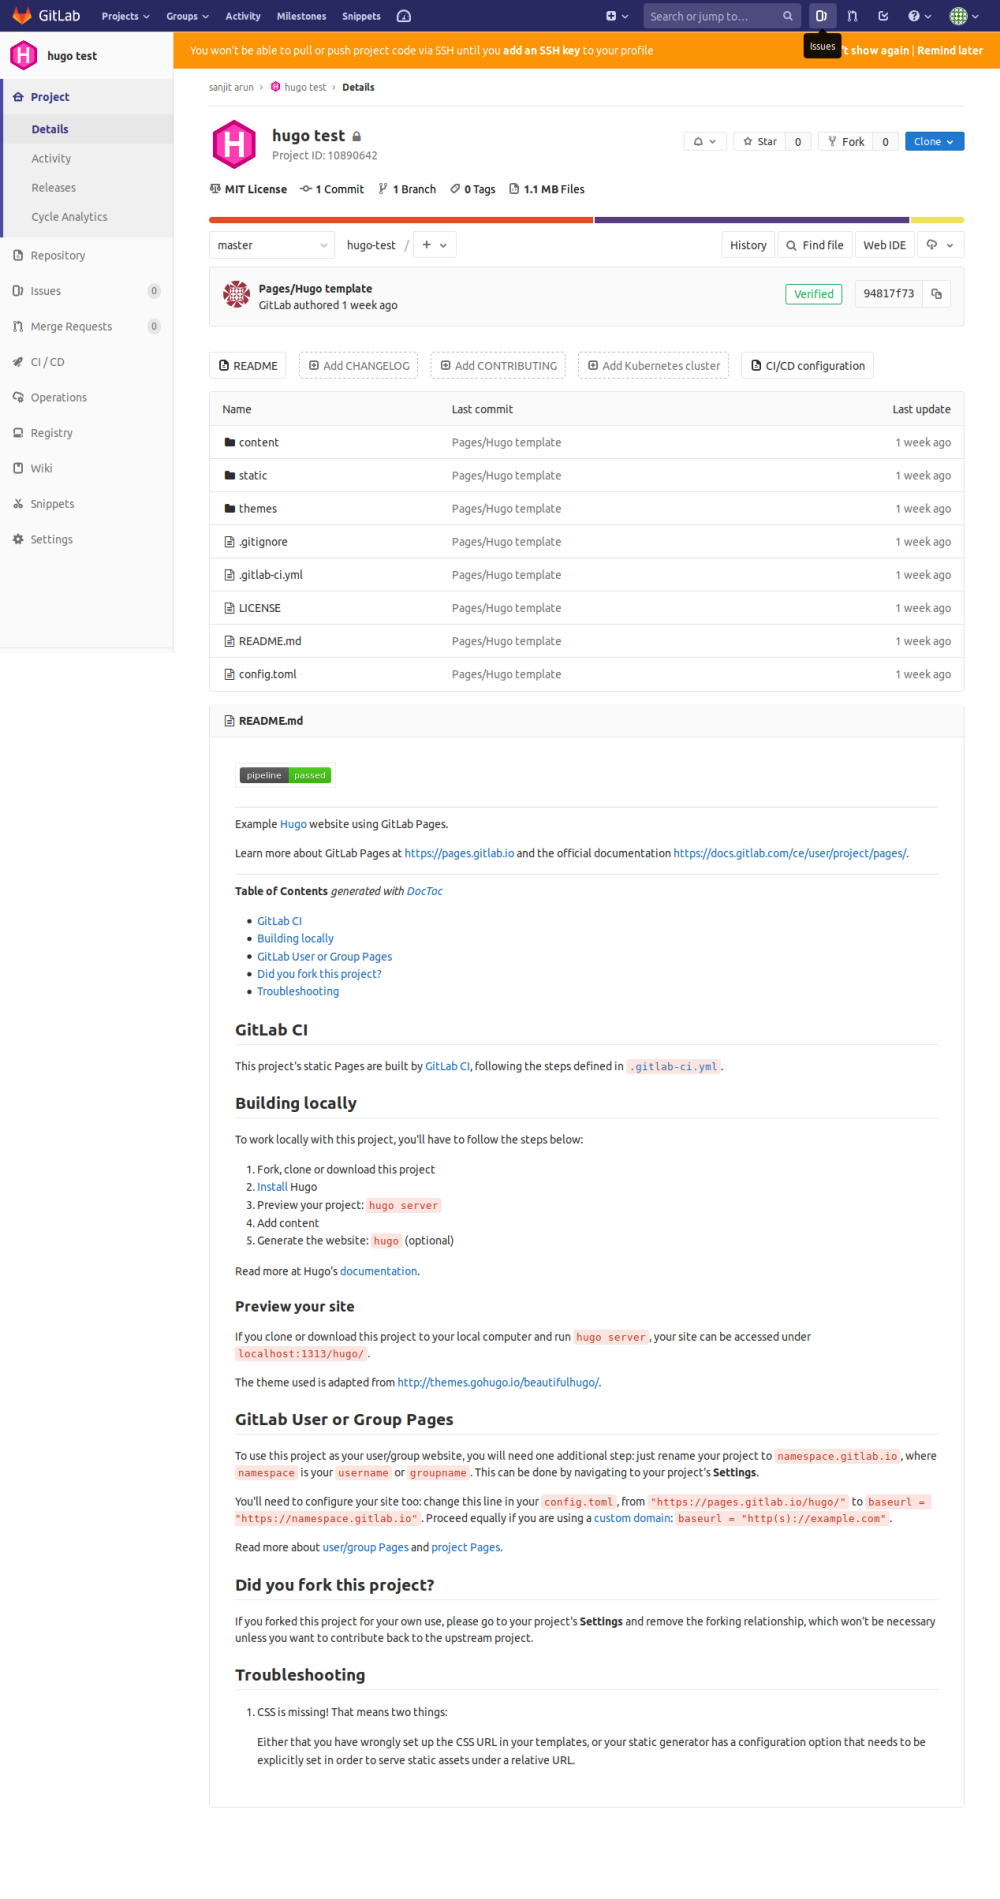
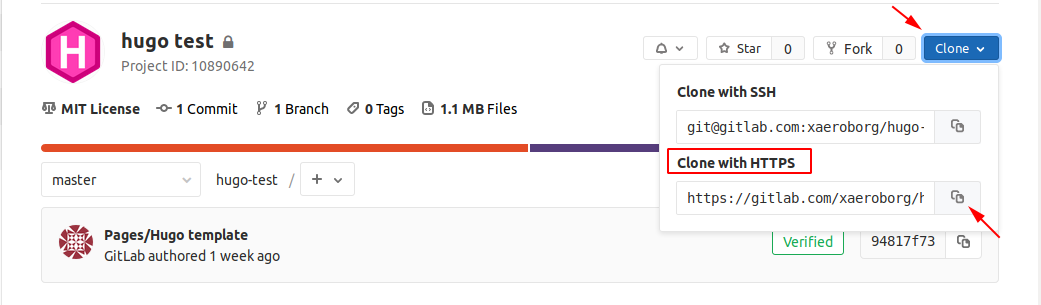
In the following screen you will be asked to choose a name for your project. I gave “hugo test” and within 10seconds a complete hugo installation was created under the new folder I created. You can check it by clicking the project name and you will see some files, folders present and if you scroll down there will be instructions on how to proceed next.
Lets clone this repository via https using git command(lets ignore ssh for the time being)
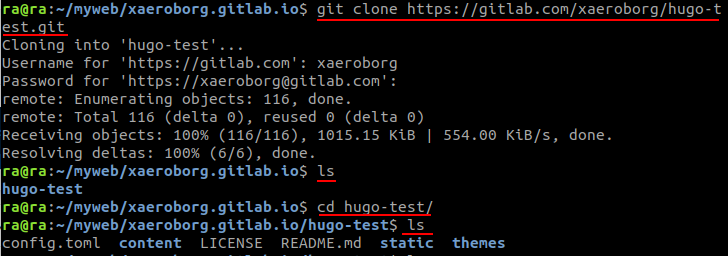
I use a linux Ubuntu 18.04LTS 64bit and in the terminal you can type the command as shown below.
FYI I created a folder called myweb and under it I created another folder called xaeroborg.gitlab.io(this is going to be my website name)
Gitlab recommends that, to host a free site, the website name must be in this format: username.gitlab.io(where username is the username for your gitlab account)
Now we are going to clone the repository to our local drive
Now we must also install Hugo into our OS to work with it locally. This functionality is useful for us to see how the site responds, looks etc.
Note: The Hugo site that is installed in our Gitlab project is fully functional, it just needs few tweaks like pointing the baseurl field to https://username.gitlab.io and renaming the project folder from hugo test to username.gitlab.io then the website is good to go, but we wont do that yet.
go through this link on how to install hugo into an OS(linus, Mac, BSD, Windows etc.,) you want.
the way I did was type in this command and I had Hugo up and running in 2 mins
sudo apt-get install hugo
As I have installed hugo in my OS already, I can just run the following command to run the server locally and see how it looks like
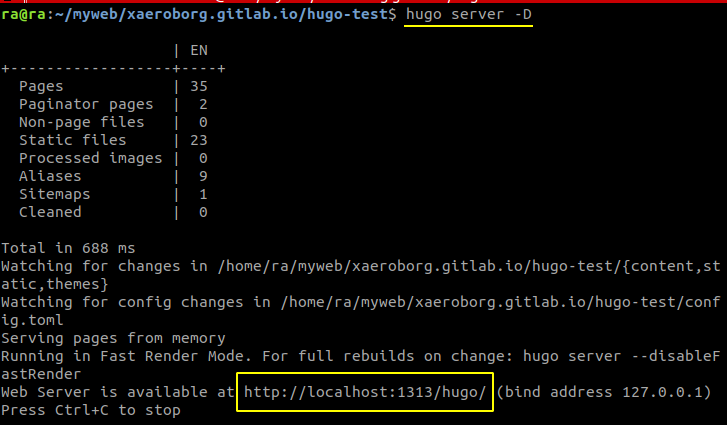
As you can see below this is the site that we cloned earlier and I have not made any changes, cool right :)
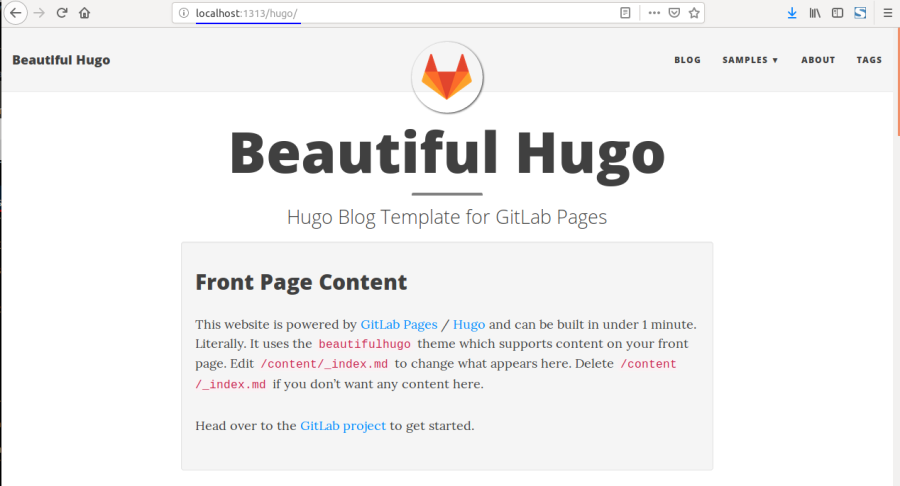
From here on I am going to change the theme(personal preference) and edit files to point to my username.gitlab.io address
Changing the theme:
I use this command “git submodule add” read here for more info on it here
git submodule add https://github.com/aubm/hugo-code-editor-theme.git themes/hugo-code-editor-theme

Now we have to navigate to the themes folder and inside it you will find 3 folders and one of them would be the hugo-code-editor-theme which we downloaded recently, delete the other two folders just so you have this hugo-code-editor-theme folder remaining.
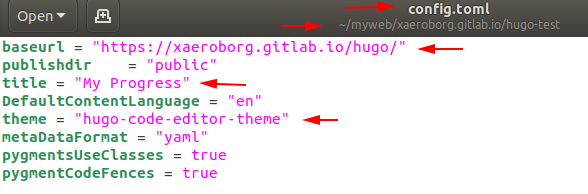
The next step is to modify the config.toml(under hugo test folder) file which you can find at main installation directory, we are going to edit that. Delete everything and add the following,
This change is temporary, we’ll modify the config.toml file again
baseurl = "https://xaeroborg.gitlab.io/hugo/"
publishdir    = "public"
title = "My Progress"
DefaultContentLanguage = "en"
theme = "hugo-code-editor-theme"
metaDataFormat = "yaml"
pygmentsUseClasses = true
pygmentCodeFences = true
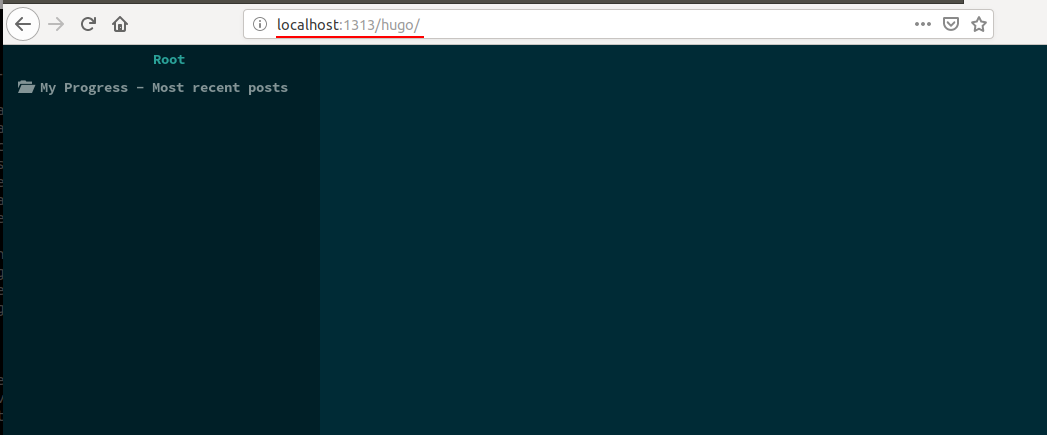
Thats it now go back to your terminal and type hugo server -D and type in the url seen in the terminal into your browser and you can see the theme is changed
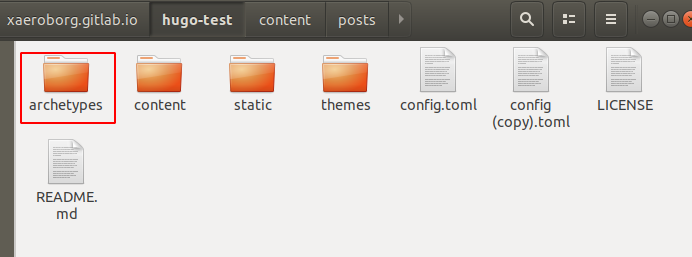
Lets now create a folder called archetypes which will have a file that will have some code and that code will make sure that every post I create has a date and time created for it. I do this because then for every post I make I’ll know when and what time it was created.
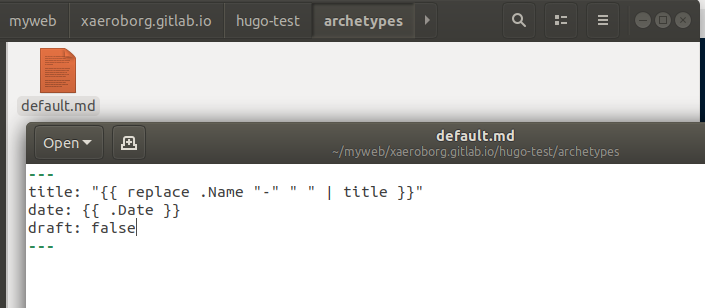
then create a file called default.md and inside that file add these lines of code and save it
---
title: "{{ replace .Name "-" " " | title }}"
date: {{ .Date }}
draft: false
---
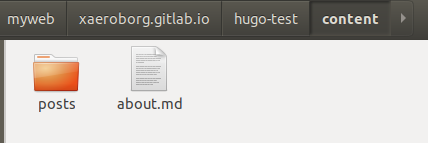
Next we must create an about.md file
Note: if we dont create a file within content folder it will not get uploaded because its empty
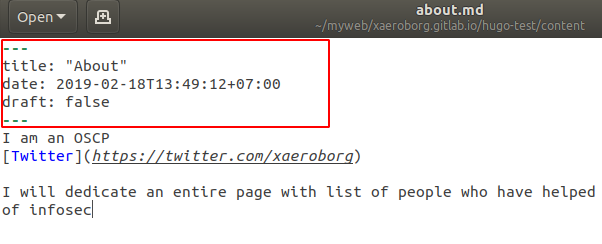
hugo new content/about.md
you can open up about.md and type in whatever you want, also you must see the part where I have squared, that part was automatically built and it was because of the code we used in the default.md file under archetypes folder
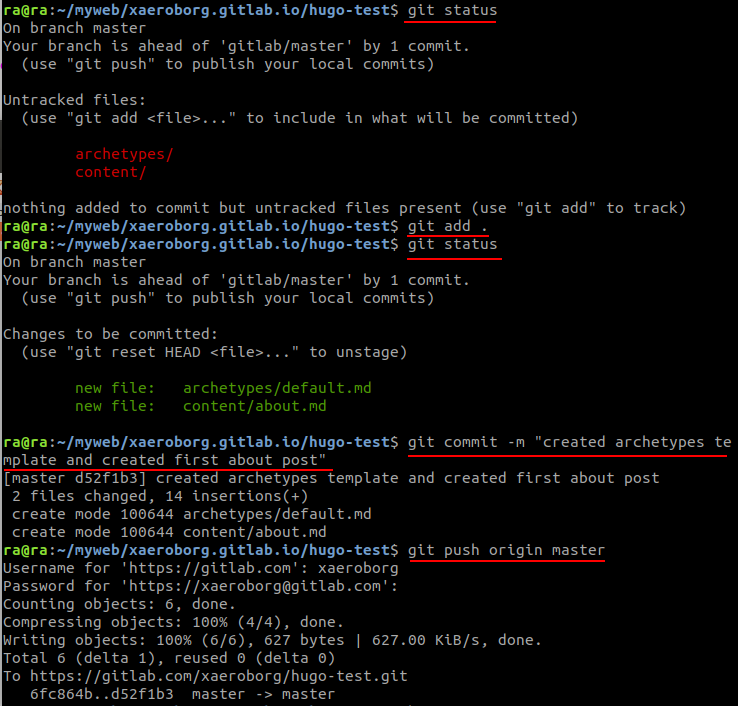
We then check the status of our local repository, add files, commit and the push it to the cloud
Before we proceed further we must remember that we initially created the project with the name “Hugo Test”.
Now,
- the project name has to be changed to “username.gitlab.io”
- change the path of repository from “hugo-test” to “username.gitlab.io” You have to go to settings tab, scroll down and expland “Advanced” scroll a bit down and delete the fields of “Project name” and “Path” replace it with “username.gitlab.io”
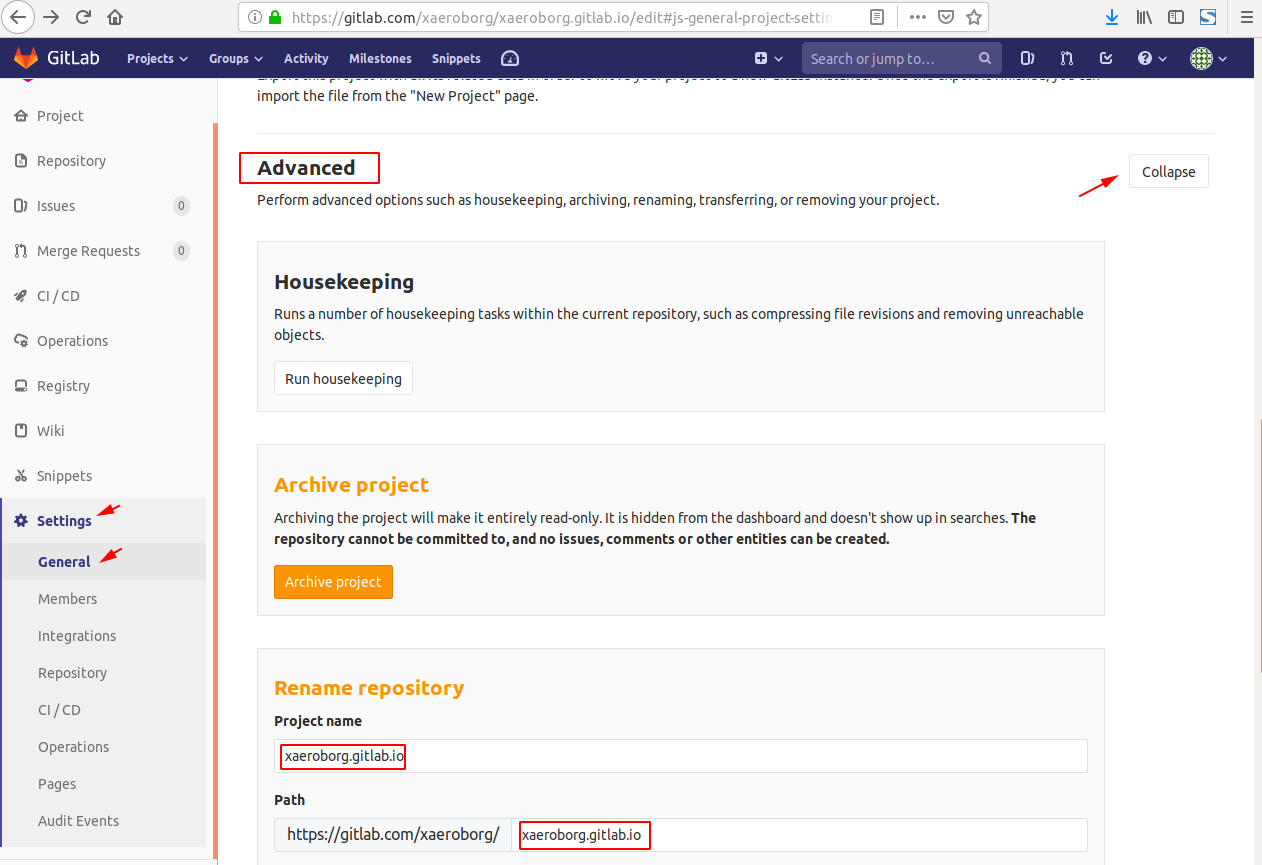
and just below this you will find an orange button with caption “Rename project”, click on it and it will scroll the screen all the way up then you save the changes. After this there is one final step remaining

- change the baseurl field in the config.toml file to point to “https://username.gitlab.io”
open the config.toml file in a text editor and make the changes as given below
baseurl = "https://xaeroborg.gitlab.io"
publishdir    = "public"
title = "My Progress"
DefaultContentLanguage = "en"
theme = "hugo-code-editor-theme"
and push it
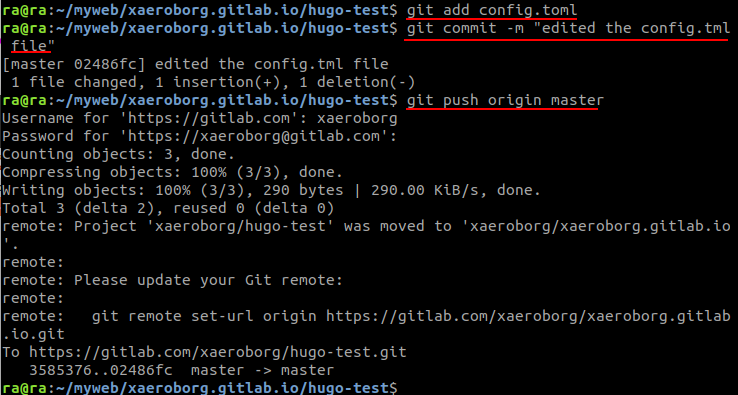
Just one last step type this command(this same command is given in the screenshot above) and hit enter. Thats it.
git remote set-url origin https://gitlab.com/username/username.gitlab.io.git
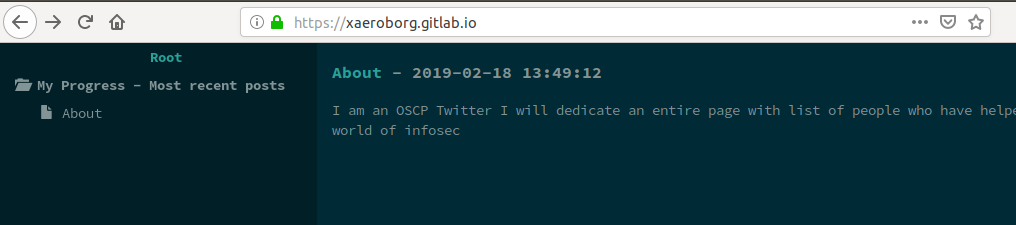
give it like 2-3 mins and type in your address bar https://username.gitlab.io and see the magic unfold :)